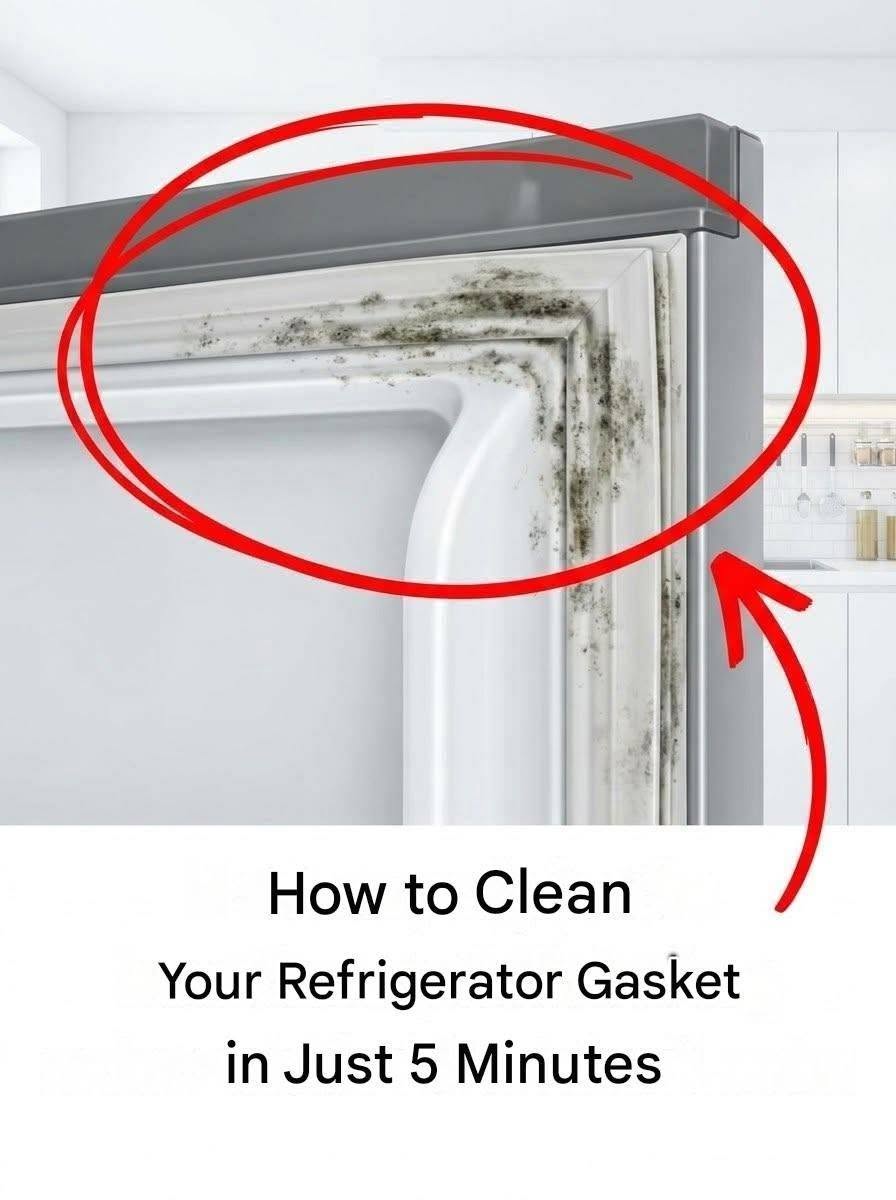
Have you ever opened your refrigerator and noticed black spots, dirt, or mold-like buildup around the rubber door seal?
That little rubber gasket is easy to overlook, but it plays an important role. A dirty or damaged seal can prevent the refrigerator door from closing properly and allow cold air to escape.
The good news? Cleaning it can take just a few minutes. 🧽❄️
🧼 What You’ll Need
You don’t need expensive cleaning products.
Grab:
- 🥣 Warm water
- 🧴 A small amount of dishwashing liquid
- 🪥 An old soft toothbrush
- 🧻 A clean microfiber cloth
- 🧤 Gloves if you’re dealing with heavy buildup
For stubborn mildew or mold-like spots, some people use a diluted vinegar solution, but always check your refrigerator manufacturer’s cleaning instructions first, because certain gasket materials and finishes may have specific requirements.
🧽 Step 1: Open the Refrigerator Door
Open the refrigerator door completely so you can access the entire gasket.
Pay special attention to the folds and corners of the rubber seal. These areas can trap moisture, food residue and dirt.
🪥 Step 2: Clean the Gasket
Mix a small amount of dish soap with warm water.
Dip your microfiber cloth into the solution, wring it out, and wipe the entire gasket.
For the grooves and difficult corners, use a soft toothbrush.
Gently brush away the buildup rather than pulling or stretching the rubber.
🦠 Step 3: Deal With Dark Spots
If you see black or greenish patches that look like mold or mildew, don’t simply cover them with another product.
Clean the area thoroughly and remove the residue.
Avoid mixing cleaning products—especially bleach with vinegar, ammonia, or other cleaners, because dangerous fumes can be produced.
If the manufacturer’s instructions recommend a particular disinfectant or cleaning solution, follow those instructions instead.
💧 Step 4: Rinse and Dry
Use a clean, damp cloth to remove any remaining soap.
Then dry the gasket completely.
This step is important because moisture trapped inside the folds can contribute to more buildup.
🚪 Step 5: Check the Seal
Once everything is clean and dry, close the refrigerator door.
Look around the entire perimeter of the gasket to make sure it sits evenly against the refrigerator.
You can also place a piece of paper between the gasket and the refrigerator frame before closing the door.
If the paper slides out extremely easily in several places, the gasket may not be sealing properly.
⚠️ When Cleaning Isn’t Enough
Sometimes the problem isn’t dirt.
If the rubber is:
- cracked
- torn
- permanently deformed
- loose
- no longer making proper contact with the refrigerator
then cleaning won’t completely solve the problem.
A damaged gasket may need to be replaced.
🧊 Why the Refrigerator Seal Matters
That rubber strip isn’t just decoration.
It creates a barrier between the cold air inside the refrigerator and the warmer air outside.
When the seal isn’t working properly, the refrigerator may have to work harder to maintain its temperature.
So while cleaning the gasket takes only a few minutes, it’s a simple maintenance task worth doing regularly.
💡 Quick Tip
Don’t wait until the gasket looks dirty.
Give it a quick wipe whenever you’re cleaning the inside of your refrigerator. Regular cleaning makes it much easier to prevent stubborn buildup from returning.
When was the last time you cleaned the rubber seal around your refrigerator door? 👇